Translate this page into your language

Thursday 4 June 2015

Realistic cross country setups


Hi! I've decided to be a more active blogger now as I've come out of my model horse hobby slump thanks to my friend who makes the most gorgeous tack and paints beautiful customs (see my last post!)

While with my friend recently, we dug a hole in her garden (much to her gardener's disgust!) and built a setup and took some photos. I have a pretty awful phone so the quality isn't great, but I hope you'll be able to use this and maybe make a setup yourself! Keep an eye on my blog as I am about to start making a saddle for my gorgeous custom!


Include different angles and funny positions!


I love this angle as it gives you an idea of the scene!
This angle is nice too just removing the hosepipe would be great!
Create different kinds of jumps for more variety!


Include jumps in and out of the water and through ditches!


I think this is my favourite picture and angle, it looks realistic.


This gives you an idea of what the rider sees and the hoofprints add realism too!
The water looks great here!


This is pretty much the stuff you need to build a good XC setup!

Use different decorations for your fences!


I hope this tutorial has helped you create a successful XC setup! Email pictures of your setups to mramasamy@godolphinandlatymer.com for them to be posted on this blog! See you soon :)


Wednesday 3 June 2015

Customs!!


Hi! Sorry I've been inactive, I've been so busy recently I have sort of neglected this blog. Anyway, my friend did a lovely custom for me of the Cleveland Bay mould. He is absolutely gorgeous and I adore him! I think I'm a little too obsessed with him.... Here are some pics! I'm posting a setup tutorial soon so prepare...


She used an airbrush to customise his coat and a paintbrush for his markings. He is so gorgeous I love him so much!


What he looked like originally after she airbrushed him white first.


His adorable face and beautiful shading!


She darkened his tail, legs, shoulders and face.


I love his star and little pink snip! The detailing on his eyes is perfect too!


His gorgeous snip close up.


His cute little markings! A coronet band on his near left, and two socks on his hind legs!


I love the shading on his neck!


He has hoof striping and a lovely dark tail.


He has little ermine spots and lovely shading on his hooves (the sock was done over after the picture was taken)

 
I think he's beautiful! She's doing it for free as well which is so kind! Take a look at her blog


Comment suggestions for posts -  what do you want to see from my blog? Bye!


Monday 27 April 2015

Four Hooves Model Saddlery and Rugs

Hi! I'm being a bit inactive at the moment, I promise I will be more active soon!

I have exciting news: My friend and I are starting a model horse tack shop! It is still being edited and isn't perfect yet as I have to get all the products up there and the images etc... Have a look at it so far, http://www.freewebstore.org/Four-Hooves-Model-Saddlery-and-Rugs

I'll post something when it is finished, I hope we will receive some orders! We are also going to apply for the Utterly Horses program where they help you gain publicity and sell your products on their website as well. Please leave a comment! See you soon!

Friday 17 April 2015

Favourite Stone Horses

Hi! Sorry I've been so inactive... I just got a new share horse called Isaac who is absolutely gorgeous... He's a 14.1hh 7 year old Dales with lots of scope and jumping ability, just a bit green schooling and hacking. I think I will need a custom of him... Anyway!

I don't have much to post as I've been in a bit of a hobby slump and haven't had much inspiration to make anything. Please comment below if you have any kind of tack you think would look nice and I will make it and post it.

Here is a list of my favourite Stone Horses to date (17th April 2015) . These horses are very expensive and I can't afford one, but hopefully for Christmas I can get one...

 
What are your favourite stone horses? Comment below!
 
See you soon...


Sunday 22 March 2015

How to make a realistic model horse setup

Hi! I apologise for my inactive blogging, and for not posting any of my photos on my blog but I will post some soon. I am going to do a quick tutorial on what you need for a successful model horse performance setup.

1. A base

A base is important for extra realism, and will earn you extra marks. For arena jumping use a sandy surface, and for barrel racing and dressage as well. For grass jumping and cross country make sure you have a grass surface or a muddy like surface.

2. Props

What would a barrel racing setup be without barrels? What would a show jumping setup be without show jumps? You need props for your setup. Get reference pictures off the internet of what your prop should look like and try to recreate that in miniature scale. Try and be as accurate as you can; the more realistic it is, the more likely you are to get placed.

3. Tack

Tack is very important. It needs to be the right kind for the class; a western saddle for western classes; and different types of English saddle for each discipline. You wouldn't jump with a dressage or a western saddle, so why should your model horse? It is just a waste of time trying to cut corners. Go down to every last detail- even eventing grease on your horse's legs in your cross country setup. For boots, make sure you have the correct kind - you wouldn't have open front boots for cross country.

4. Rider

Make sure the rider is positioned correctly with the position of the horse. If the horse is out of control, have the rider sitting back and holding tightly to the reins, with their heels down. If the horse is jumping, put the rider in their jumping position. Shorten and lengthen the stirrups on the saddle according to the discipline to make the setup look even more realistic. Make sure the rider is correctly dressed for the class they are doing, use reference pictures to help you.

5. Horse

Ensure the horse is correctly positioned away from the prop. If it is a jump and the horse is jumping, check what angle it is jumping at and what looks most realistic according to your reference pictures. If a horse looks like it is jumping too big, raise the jump or use a different horse. Don't use a walking horse for a jumping setup, use a bold looking cantering horse who has their ears pricked forwards - take Flexible or Newsworthy for an example.

If I've missed anything let me know! Bye!

Sunday 15 March 2015

The Worst Blogger

I'm so sorry about being sooo inactive! I haven't blogged for nearly two months....... How awful is that? Anyway.....

Yesterday, my friend and I started to work on my setup for the Utterly Horses Hullabaloo 2015. I went last year, and unfortunately only gained one ribbon, 4th place, for Totilas in the Warmblood class. My setup for this year is a cross country one.

It has a wooden platform, with realistic posts along the sides of the track. In the centre is my beautiful resin jump which my friend (I didn't really do much!) constructed (and afterwards I accidentally stepped on it but she came to the rescue!). Leading up to the jump we have used this special stuff which is liquid at first but goes solid, and you can print hoofprints into it. We are putting grass scatter around the jump and on the sides, and lichen for the brush on the fence.

My friend has it at the moment, but when I bring it home I will definitely post some photos of it!

Here is a picture of the kind of jump that I am using...


Credit: countrysideshowjumps
I will try and be more active, maybe posting every few days! Comment below what tutorials you would like to see from my blog.

Bye

Thursday 22 January 2015

How to make easy over reach boots

Hi! Today I'm going to do another boot tutorial, except this one is on over reach boots (or bell boots). They are designed to stop the horse from injuring his heels by protecting the back. Most eventers use them! These are very easy to make and don't require much. Anyway....

You will need:

Leather
Elastic
Ribbon (optional to outline it and seal the edges)

Let's get started!

1. Draw this shape into your leather. Perhaps do a few to try for the sizing.


2. Cut out your leather shape.


3. Check the fit on your model's hoof. It should wrap around the whole of the hoof except for the back so there is a small opening.


4. Skive the leather. This is optional but makes the leather more flexible and easier to shape.


5. Excuse the quality of the picture! Cut your elastic reasonably short and glue it on to both ends of the boot. You can use Velcro if you want but it makes them more bulky.


6. Place it on your model and then you're done! You can outline it with ribbon if you like!


I hope you like this tutorial -  I will be making more but please comment below with your ideas or anything you would like me to do a tutorial on! See you soon.

Sunday 18 January 2015

How to make simple leg wraps (also could be sports/medicine boots)

Hi! I haven't done a tutorial for AGES! Today I decided it would be time to do some more tutorials, and be a more active blogger. Today the tutorial is on leg wraps. They are designed to wrap around the horse's leg - before modern boots they were used, and occasionally people use them nowadays. Mine are very simple - they take around 5-10 min so it is likely you can make 4 in around half an hour. They fasten with Velcro for an easy touch and if done correctly are very durable.

You will need:

Material (anything apart from felt is good, it just needs to be thin. I am using a white blackout blind that I found!)
Felt
Scissors
A glue gun (or some reliable glue)
Velcro


Let's get started:

1. Firstly, take your material and cut a narrow strip of it. I will describe the length in the next step. The width will depend on the scale of the model, I am using Breyer Traditional and mine are reasonably narrow. If you have weak or easily frayed material, cut it wider and seal the edges with clear nail polish.


2. The length of your material should be roughly a bit longer than your model. However this isn't precise - if you want it precise you can always do a few prototypes using paper and scrap materials.


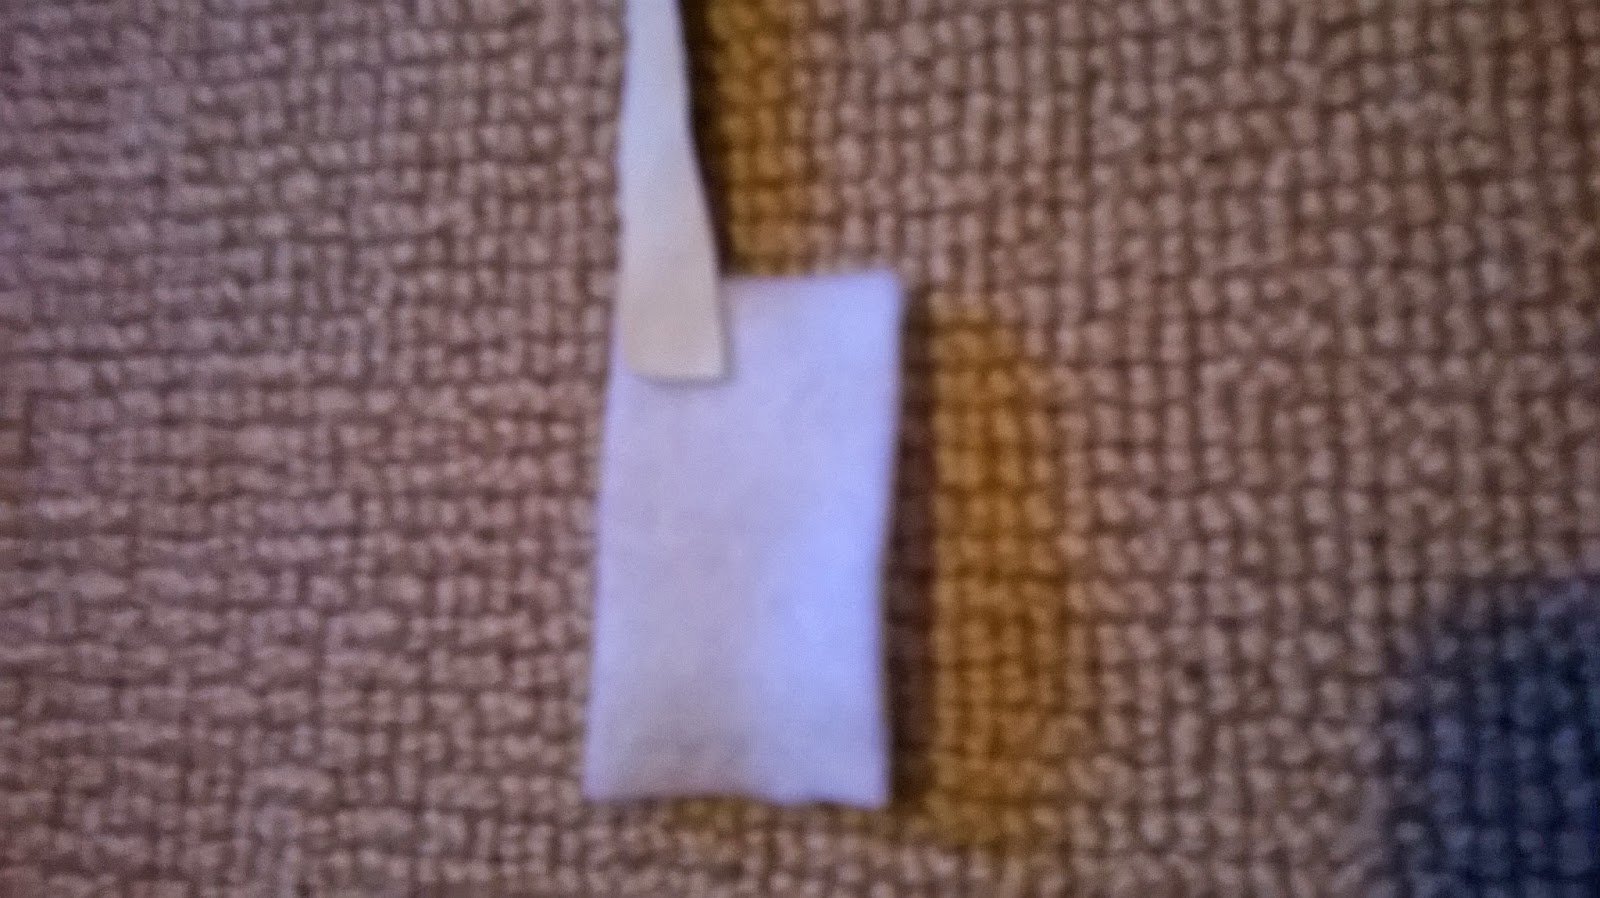
3. Next, cut a small rectangle of your felt. I am using white for a more professional look, but if you want yours to be more funky, that's fine! It should fit comfortable on the horse's leg between the fetlock and the knee joint.


4. Next glue your strip of material to the piece of felt. I am gluing it to the top of the material, however you can glue it anywhere as it will still achieve the same results.

This picture has been rotated! Tilt your head sideways to see it properly!


5. Wrap it around the leg to check the fit. Glue the fuzzy side of the Velcro to the bit where the other bit of the Velcro will go (if this doesn't make any sense see the next step!)


6. Glue the prickly side of the Velcro to the end of the strap, so that when it folds over it will Velcro nicely into position. If you are going to make this for a number of different horses, then I advise making the Velcro a little longer. If it is for only one horse, then cut it shorter.


7. Wrap carefully around your model's leg, using an even tension and ensuring that it is quite tight so it doesn't constantly slide around, but that it is not so tight that it could potentially scratch the model.


And you are done! Please comment if you like this tutorial, I will definitely be inspired to do more! Thanks so much for all the pageviews, it is much appreciated!

By the way, if you were wondering why I was doing the tutorial on the floor, this is why:


Yep, that's my work desk. I'm currently in the process of making a saddle (see the brown thing by the green box and the rider's foot!) so it is very messy. I will tidy it soon though.

See you soon for reference pictures, tutorials and general gossip!


Thursday 1 January 2015

HAPPY NEW YEAR! and @modelhorsetutorialsblog

Happy New Year! I hope everyone has had a fabulous start to 2015, and had a merry Christmas as well. This post today is about Model Horse Tutorials' Instagram! We are @modelhorsetutorialsblog, so look us up and make that blue button green! Thank you for all the pageviews you have given me- I am aiming for 1000 by the summer!

Rendered Image
There are exclusive posts that haven't been revealed on this blog, and also a link directly to the blog. I will do spam for spam, follow for follow etc.

HAPPY NEW YEAR!

I will do another post soon on reference pictures to continue my series.

See you soon!